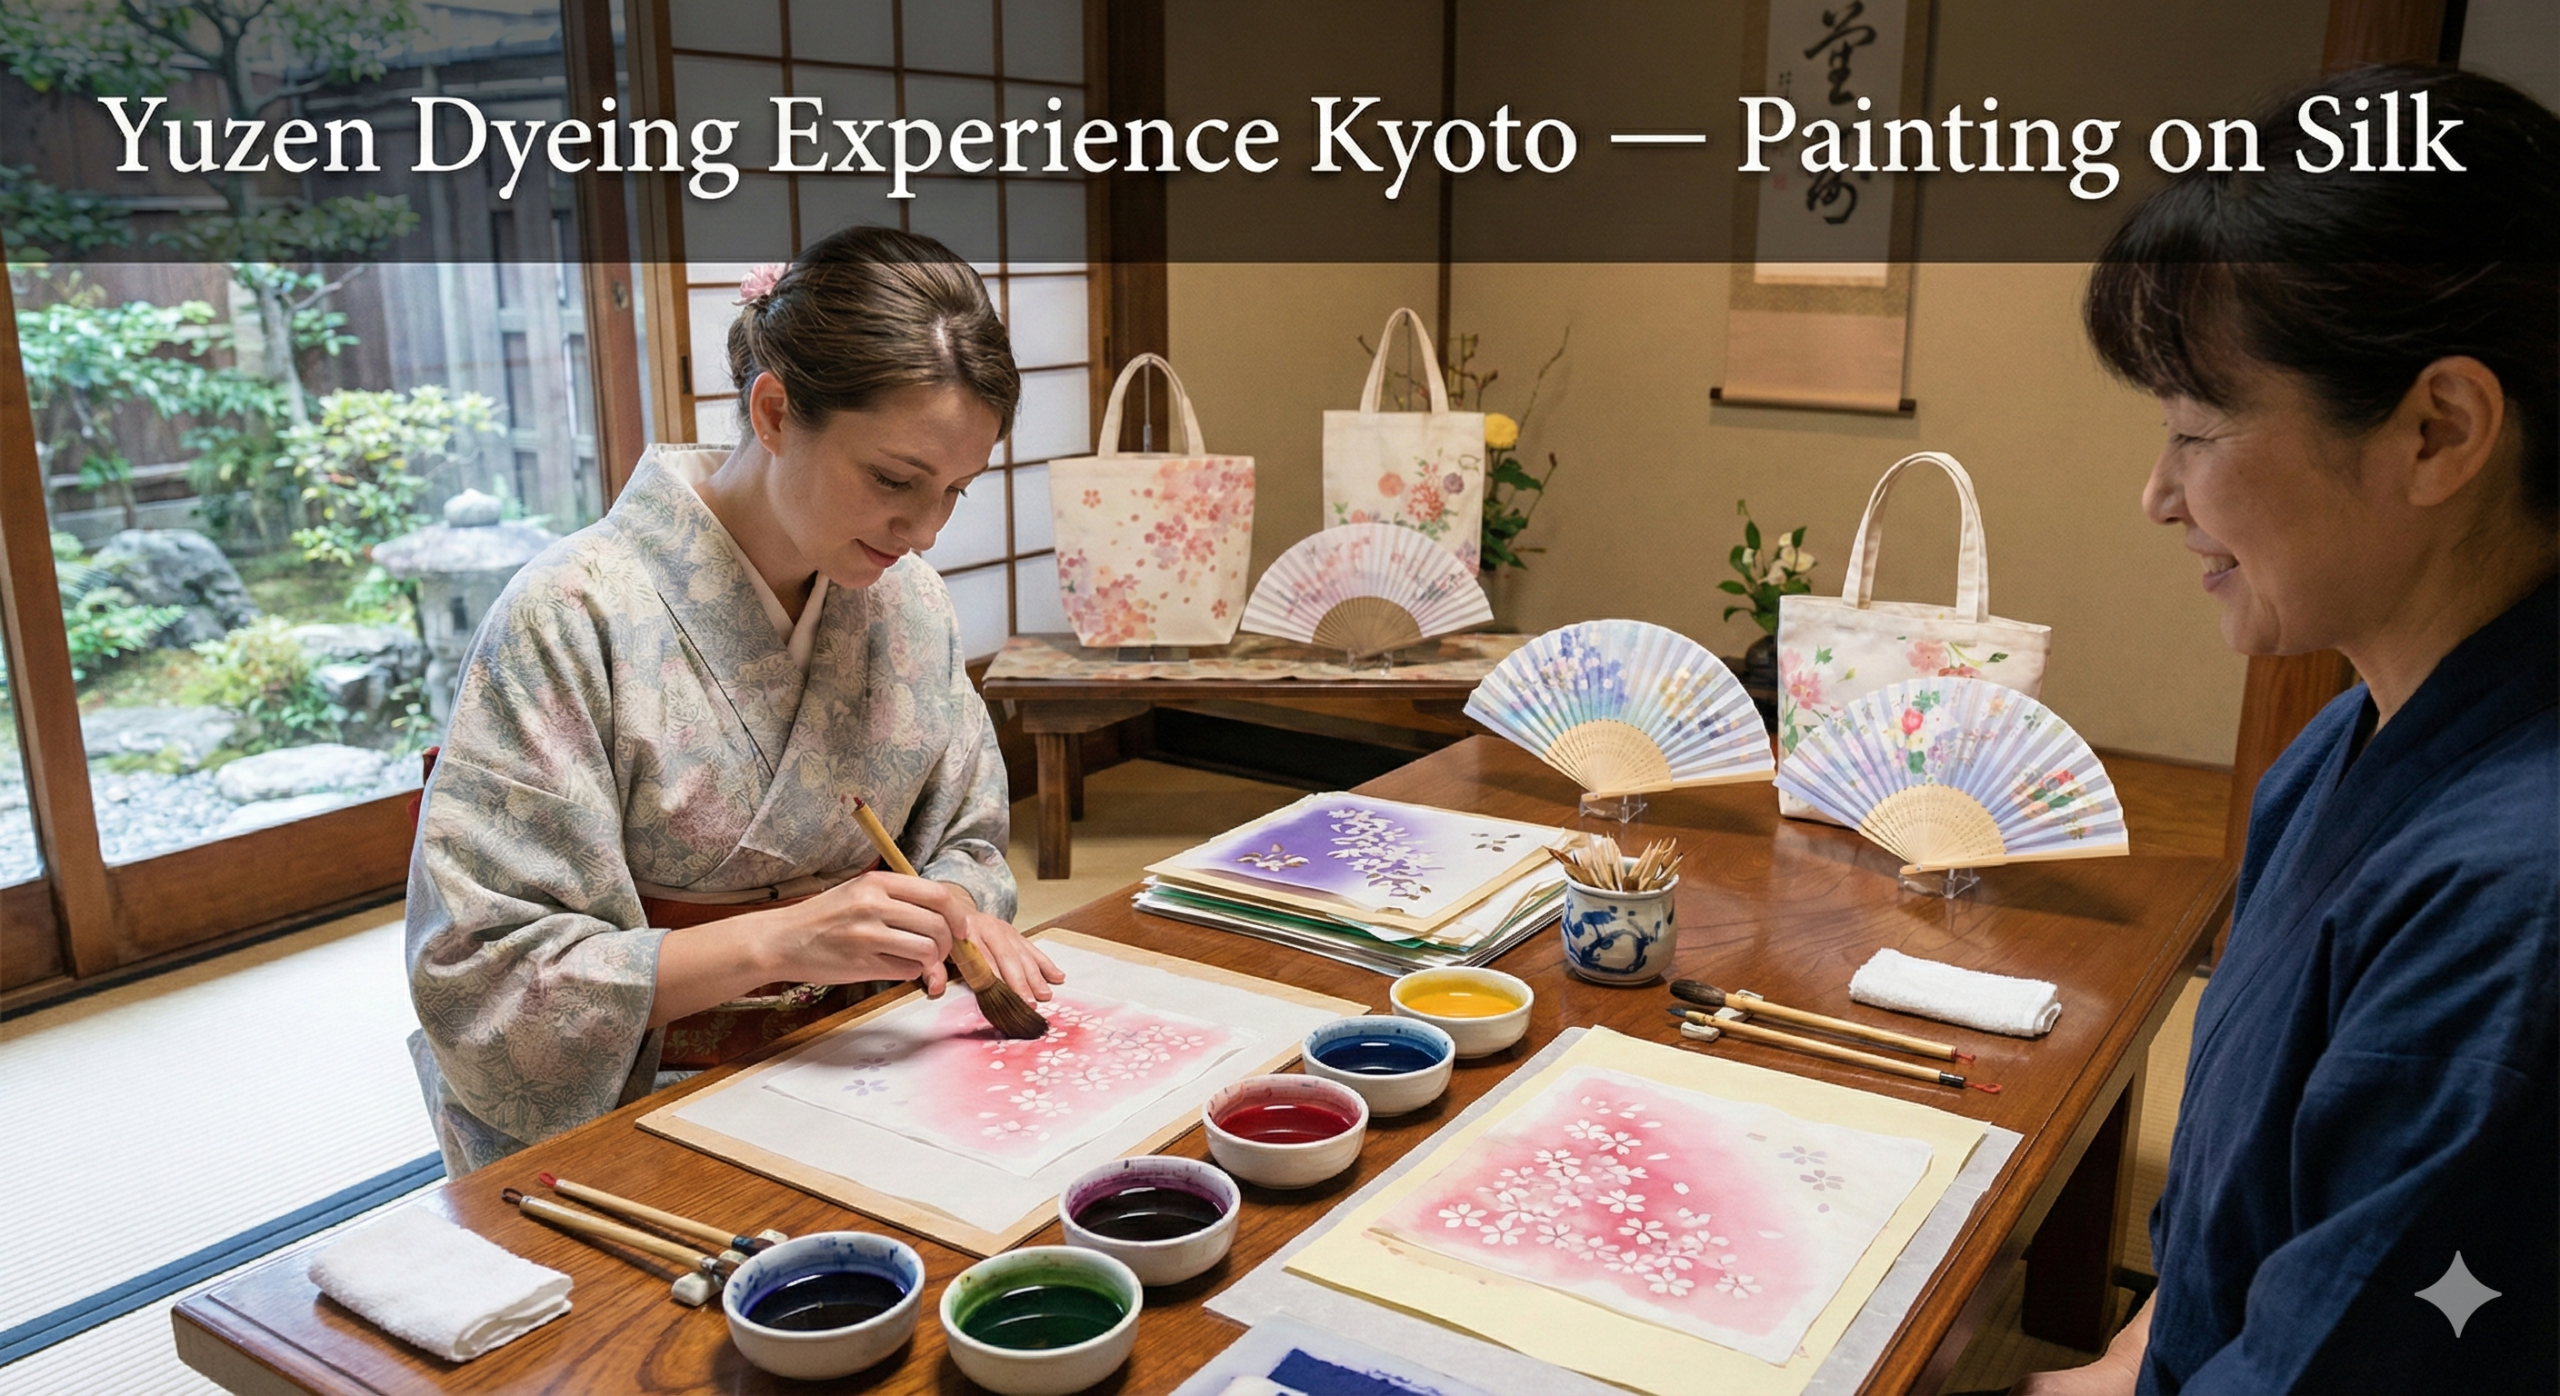
Wearing the Seasons When you see a kimono featuring elaborate, photorealistic flowers, birds, or landscapes, you are likely looking at Yuzen Dyeing. Developed in Kyoto in the late 17th century by the fan painter Miyazaki Yuzen-sai, this technique revolutionized Japanese fashion. Before Yuzen, kimono designs were either woven (heavy and geometric) or embroidered (expensive and stiff). Yuzen allowed for fluid, painterly designs to be dyed directly onto the silk, turning robes into wearable canvases.
For travelers in Kyoto, a Yuzen Dyeing Experience (Kyo-Yuzen) is a peaceful, artistic activity that offers a deeper appreciation for the kimono culture seen on the streets of Gion.
Kyo-Yuzen vs. Kata-Yuzen
There are two main types of Yuzen, and it is important to know which one you are signing up for:
- Te-gaki Yuzen (Hand-Painted): The original method. An artisan draws outlines with a rice-paste resist (nori) and hand-paints the dyes within the lines. This takes months to complete.
- Kata-Yuzen (Stencil Dyeing): Developed later to make kimonos more affordable. It uses intricate paper stencils (katagami) to apply patterns. Most tourist workshops utilize this method because it is accessible, faster, and almost impossible to mess up.
The Experience: Layering Color
In a typical workshop, you will decorate a handkerchief, a folding fan (sensu), or a small tote bag.
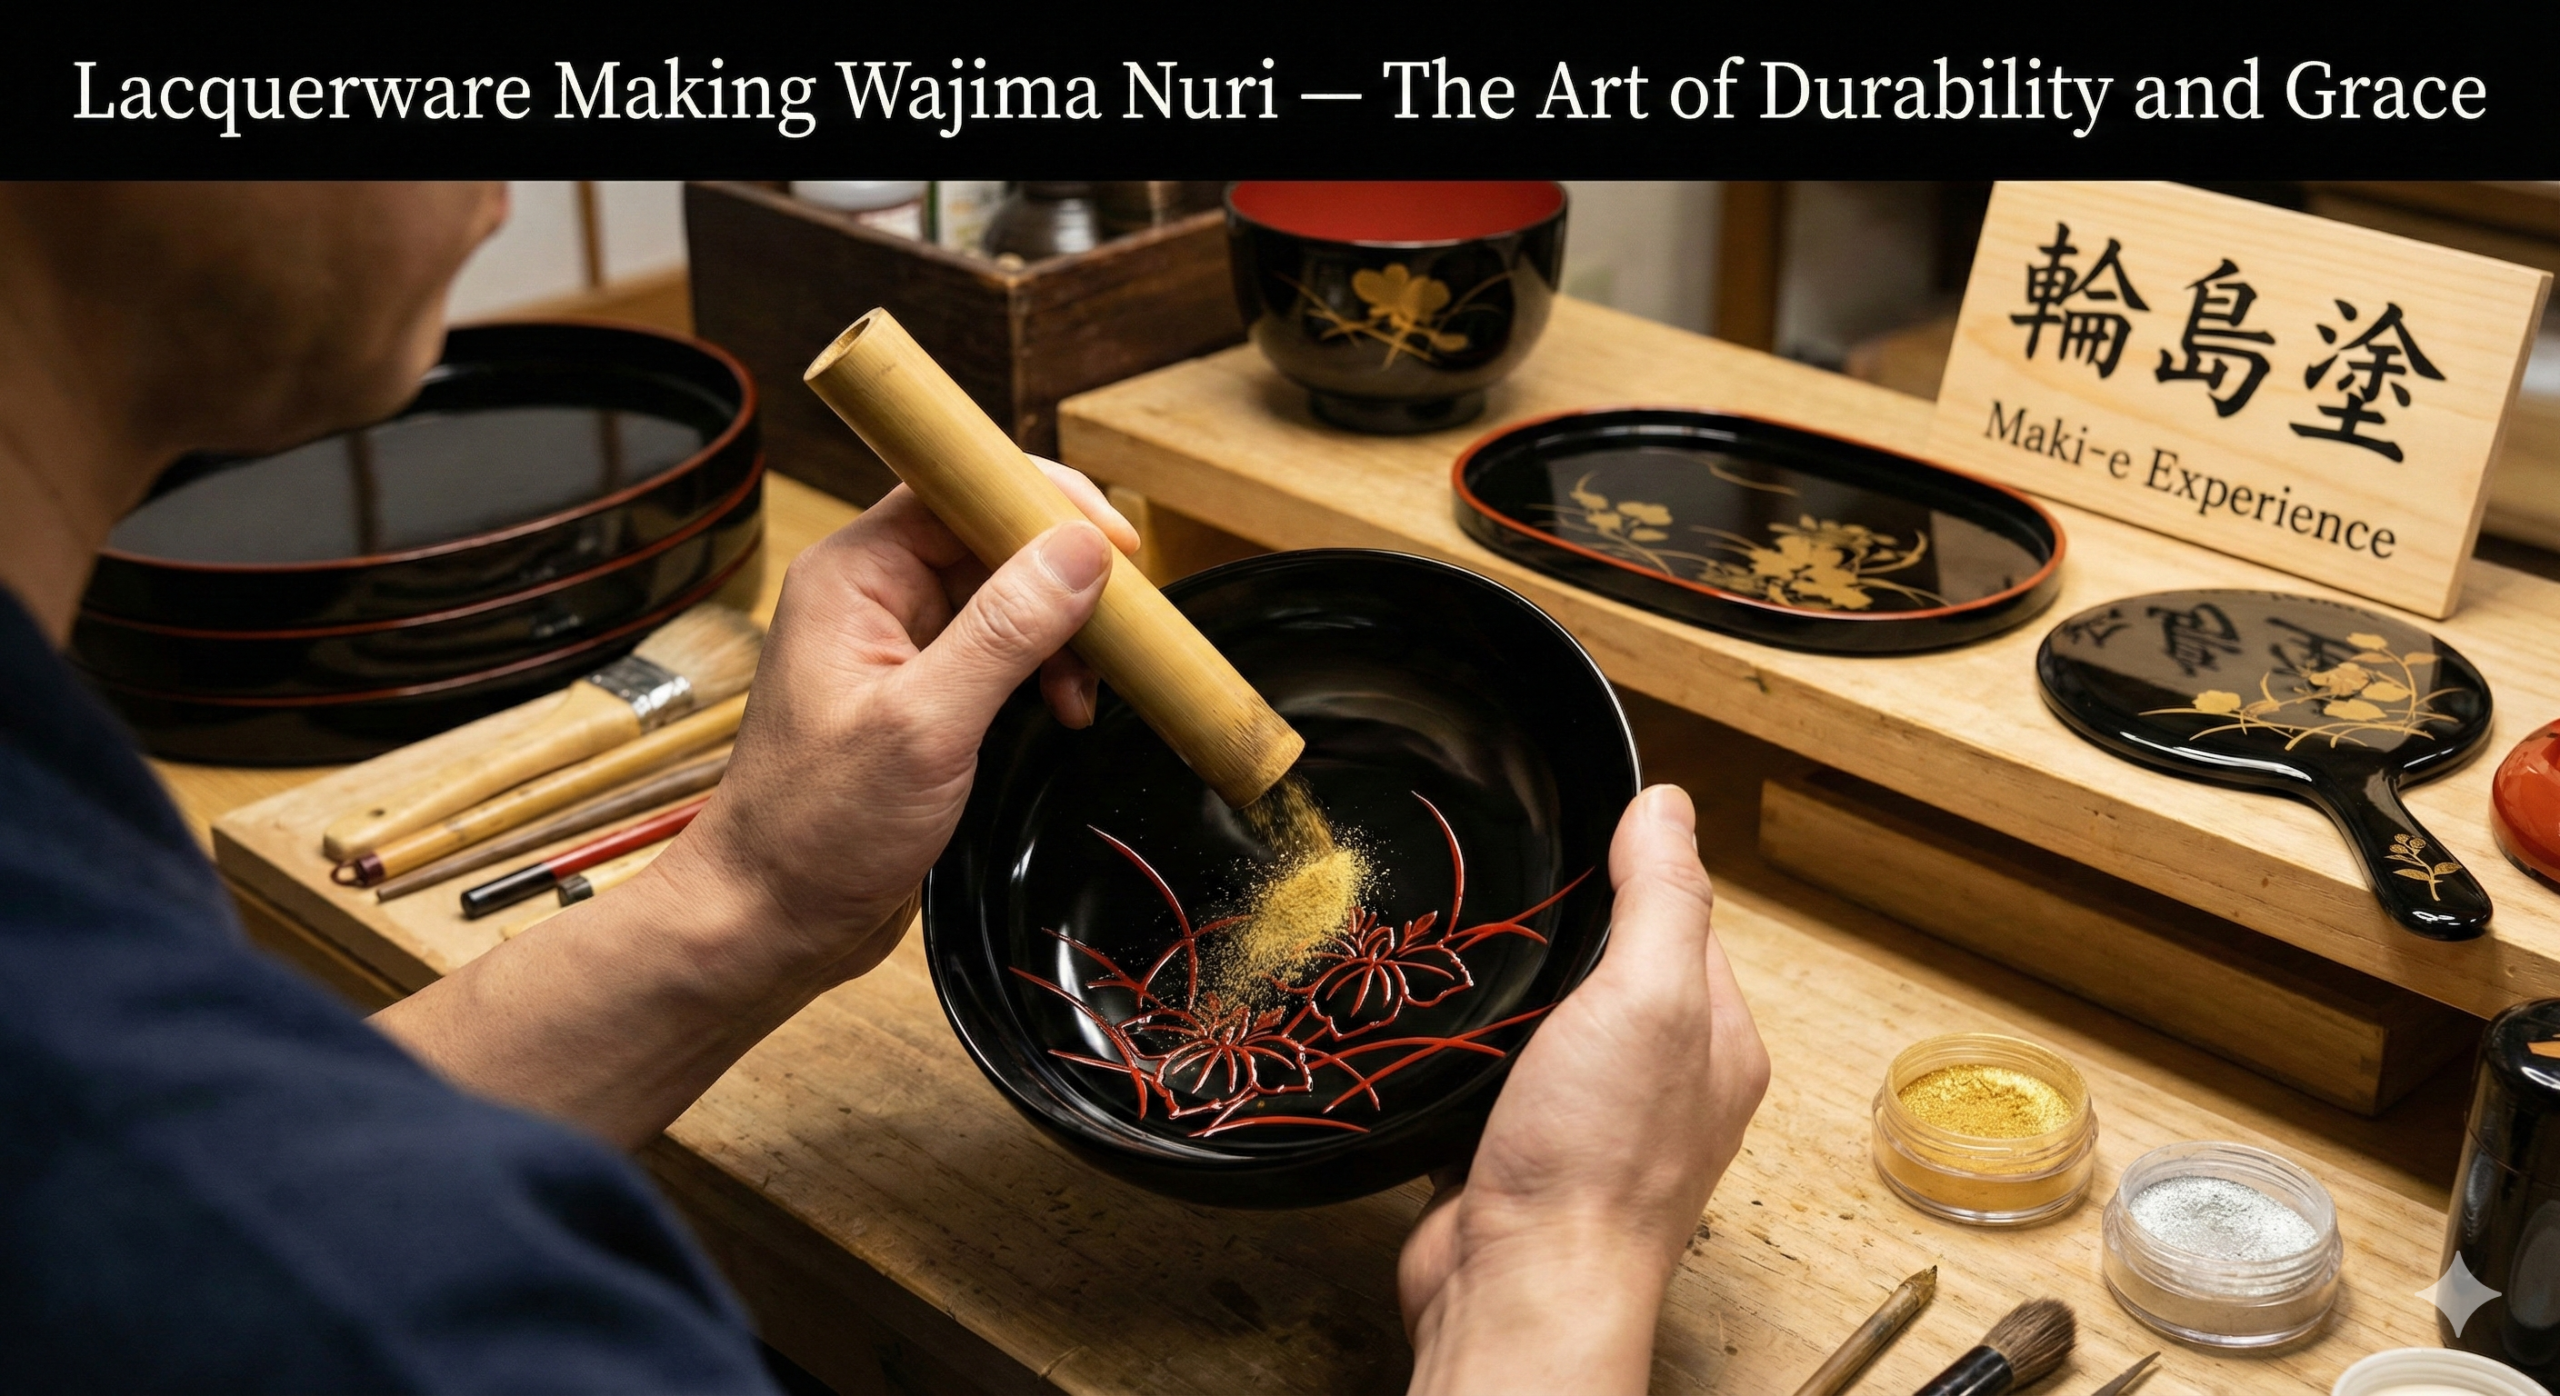
1. Choosing the Stencils You are given a set of stencils. Unlike a simple cutout, Yuzen stencils are complex. A single image (like a camellia flower) might require 3 or 4 separate stencils layered on top of each other to create the leaves, the petals, the stamens, and the background.
2. The Brushwork You use small deer-hair brushes to apply the dye.
- The Technique: You don’t “paint” like watercolor; you scrub the dye vertically into the fabric.
- Gradation (Bokashi): The hallmark of Yuzen is the soft gradient. By applying dye to only one side of the brush and moving it in a circular motion, you can make a cherry blossom petal turn from deep pink at the center to white at the edge. Mastering this subtle fade is what gives the finished piece a 3D effect.
3. The Reveal After applying all layers, you peel back the final stencil. Seeing the separate colors come together to form a crisp, professional-looking image is incredibly satisfying.
Where to Go
- Kyoto Museum of Traditional Crafts (Fureaikan): Located near Heian Shrine, offering demonstrations and workshops.
- Marumasu Nishimuraya: A famous specialized studio located in a traditional machiya townhouse, offering immersive workshops specifically for visitors.
Make your Japan trip exciting with 『Japaner Guide』

Japaner Guide is a personal guide matching service that connects you with local guides to explore destinations across Japan.

Even if you’re traveling alone and feeling unsure, you can enjoy Japan with confidence and peace of mind👍

From famous tourist attractions to hidden local gems, we customize your journey to perfectly match your interests!

👇 Sign up here 👇
https://japaner-guide.com/
Make your trip to Japan more fun and meaningful!